Products
Solutions
Resources
9977 N 90th Street, Suite 250 Scottsdale, AZ 85258 | 1-800-637-7496
© 2024 InEight, Inc. All Rights Reserved | Privacy Statement | Terms of Service | Cookie Policy | Do not sell/share my information

The InEight Contract application is used to house your contracts after they have been awarded, negotiated and executed. Within the tool you can manage all your supporting documents (e.g., vendor insurance, bonding documents, workers compensation, and all executed change orders). By having all your contracts in one spot, the Reports application within the InEight cloud platform will allow you to run reports to see what your total project is spending on buyout.
Within the InEight Contract module, you can create a contract in two different ways:
The following steps walk you through how to convert a bid package to a contract when it is ready to be awarded. When the bid package is converted, it will initially be empty, ready for you to add pertinent information.
Creating a contract from a bid package does not create a live connection between the contract and the bid package. After a contract is created from a bid package, updates to one do not produce updates in the other.
Summary: Convert a bid package into a contract after the bid package is awarded, so you can use the information that already exists for the new contract without having to enter it again.
Considerations: You can convert a bid package that has not gone through the approval workflow; however, you cannot publish the purchase order for the contract until the bid package workflow is approved. Bid packages that require approval are not available in a contract for association from the Associate a bid package icon until they are fully approved.
From the Contract > Bid packages page, select a bid package.
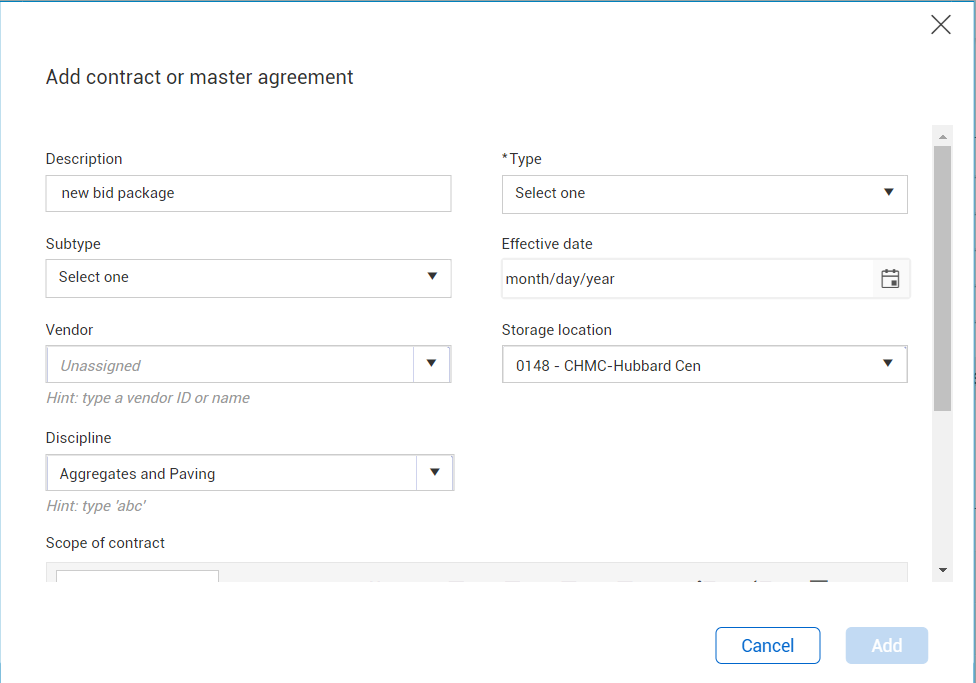
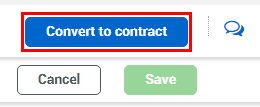
Click the Convert to contract button located on the top-right portion of the bid package record. The Add contract or master agreement dialog box opens.
Select a contract type from the Type drop-down list, and then enter or select values for all required fields. You can optionally enter values for nonrequired fields as needed.
Click Add to add the contract. A new contract is created with an automatically assigned contract number. This number ultimately becomes the purchase order number when the PO is created. This PO or agreement number remains the same during the life span of the agreement
What's next: Sometimes your vendors might ask for a PO number to get material ordered or to start the process of supplying material.
During your project, you might identify a specific scope of work that you will need a contract for, however, due to the nature of the work you will not need to produce a bid package. For example, you may have rental or service agreements that are simple enough to set up the contract without a bid package, or perhaps your project is a small infrastructure project that doesn’t require any long-lead items that have a long buyout process. For instances like this, you will want to create a contract from scratch.
The following steps walk you through creating a contract from scratch.
Summary: Create a contract from scratch to start a contract from new information.
Considerations: When you create a contract from scratch it is not associated with a bid package.
From the Contracts page, click the Add Contract icon. The Add contract dialog box opens.

Complete the following fields:
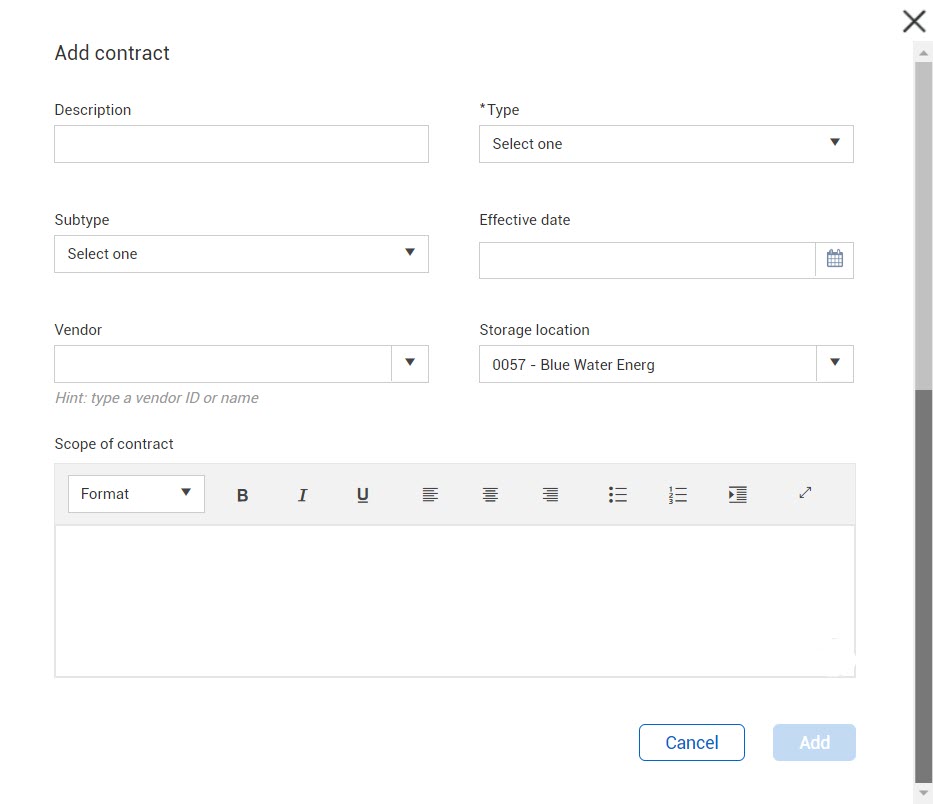
Click Add. The Contract Header tab opens.
Contract has the following Tabs which contain all the pertinent information for the contract. These tabs are located along the top of the Contract record page and from left to right as follows:

You will need to use the arrows to scroll over to the next header.
If technical field assistant lines are added to the contract, an additional header tab will be created to house them.
The tabs are ordered based on how often are used; they do not reflect the order of a typical contract management workflow.
You might need to use the arrows to scroll through all the tabs.
Additional Information
9977 N 90th Street, Suite 250 Scottsdale, AZ 85258 | 1-800-637-7496
© 2024 InEight, Inc. All Rights Reserved | Privacy Statement | Terms of Service | Cookie Policy | Do not sell/share my information